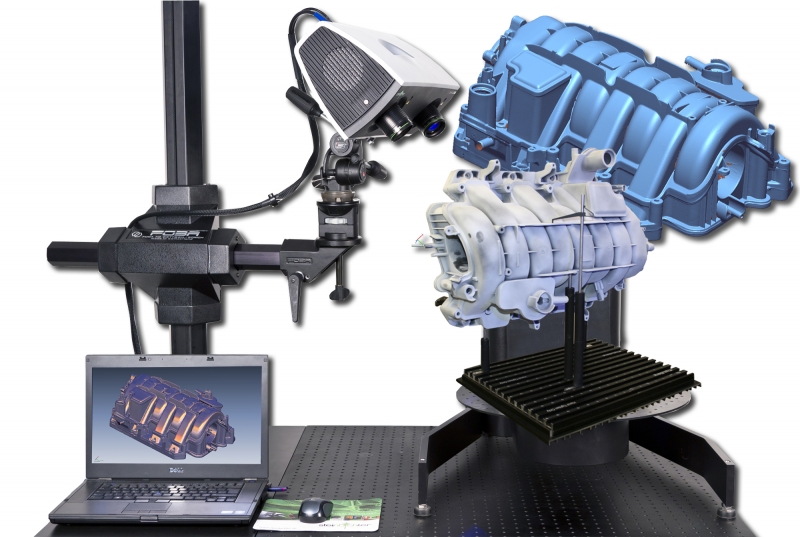
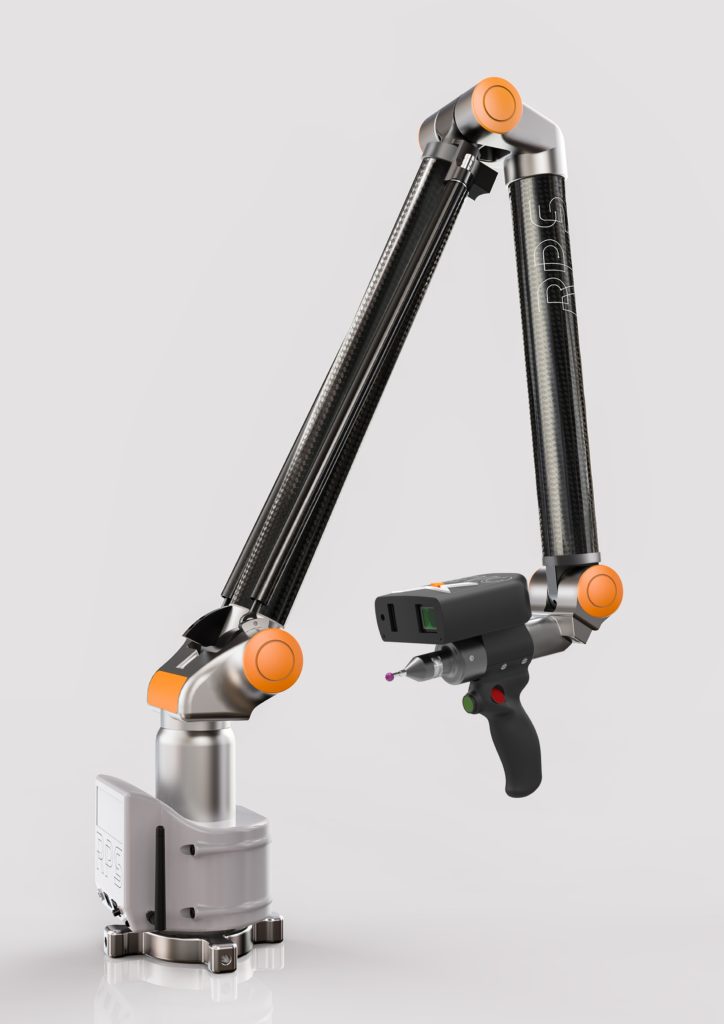
3D Scanning; It is the process of transferring parts without CAD data to computer environment. Nowadays, when we want to produce parts using CNC machines or 3D printers, we need CAD data of the part. 3D Scan devices can be used to perform quality checks of manufactured parts.
3D Optical Scanning systems is the name of the digitization process of millions of points as a light source is projected onto the part and the cameras process their shots taken together with this reflected light. This digitized data is called Point Cloud. This point cloud is defined as Mesh data in Reverse Engineering software. This is a visualization of the Mesh Data point cloud. In 3D Optical Scanning systems, it is impossible to scan the invisible parts of parts.
The 3D Laser Scanner is a state-of-the-art measuring machine that transmits objects into a computer environment (digitized) at frequent intervals, with laser beams sent from the position where they are located for measurement. In the measurements made with the Point Cloud, it is obtained without touching the part and without damaging the part surface.
The Industrial X RAY CT Scanner enables us to scan parts of the parts without damage or fragmentation, and to obtain the Point Cloud.
The CT scan of computed tomography and the CT scan of industrial parts use the same type of technology as the CT scan machines of the medical field – take multiple readings from various angles and convert CT gray scale images into voxel-based 3D point clouds. After creating the CT scanner point cloud, we can create a CAD check with CAD part using Reverse Engineering software.
Advantages
• Obtains nondestructive internal structure of parts,
• Produces extremely precise inner dimensions,
• Allows comparison with a CAD model,
• No Shaded regions,
• Compatible with all shapes and sizes,
• Excellent resolution is obtained.
- İkitelli OSB. Aykosan Sanayi Sitesi, Çarşı Blok, No:401
- +90 506 391 91 14
- E-mail: info@dizayndata.com


